This is one of my most-est favorite things I have ever ever made! I {big puffy heart} this skirt! Tons of ruffles, trims, beading and appliques make it fun, but the origami fabric flowers really make it shine.
Today I'm going to share how to make these flowers with you - it's a bit tricky, but easier than you think! I've included step-by-step photos to help you along the way.
You can make these origami flowers in any size with a basic math formula.
(completed size x 2) + seam allowance = cut square
For a 4 inch flower I cut an 8 1/2 inch square
(4 x 2) + 1/2 = 8 1/2
I like to heavily starch my fabric before I begin, it keeps the fabric from fraying and holds the creases well. (I prefer Mary Ellen's Best Press)
Remeber, precision counts! Be careful with all your folds for a great end result.
Start with your square facing right side up
Fold your square in half, pressing the crease well
Open square back up
Fold in half other direction, pressing the crease well
Unfold and turn square over, so wrong side is facing up
Your crease lines should resemble "cross hairs"
Bring the point of one corner up to center of "cross hairs", matching raw edges with crease lines
Press crease
Repeat on all corners, carefully lining up all edges
As you go try not to press out your previous creases
Turn your folded square over
Fold the bottom edge up to the center point
Press this crease well, make sure you do not press out your other creases
Repeat, folding the top edge down to the center point
Press this crease well, make sure you do not press out your other creases
Open these folds back out
(new creases are in shown in photo)
Fold in sides, the same as you did the top and bottom and press creases
Open out again
(photo shows all your crease lines)
Fold the left side in again on the crease line
Fold the top down along the crease,
"pinching" the corner up and out where they meet
{Corner}
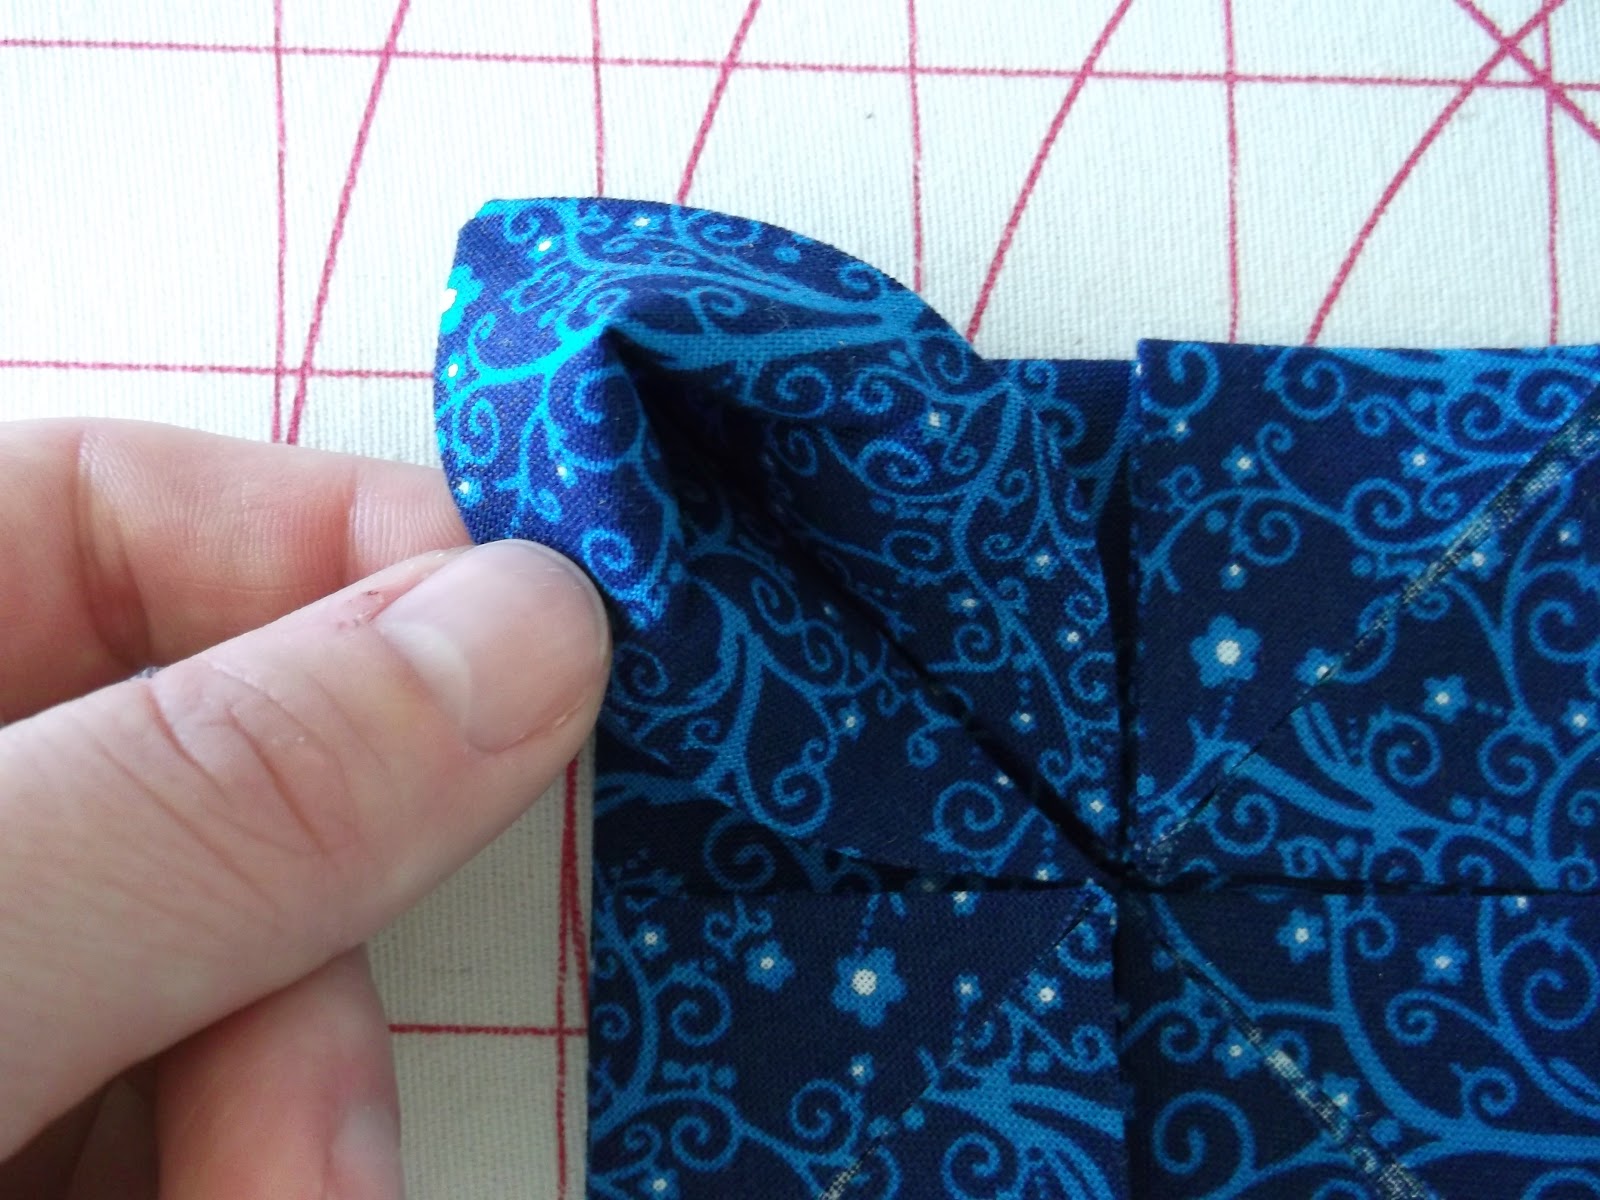
Working clock-wise, fold each side in along the creases and pinching up the corners forming "dog ears"
If you push each "dog ear" in the same direction it should look like a pinwheel
Slip your finger into each corner to open it up and push it down into place
Repeat on each corner/ "dog-ear"
Pressing well when all are flat
It will now look like 4 squares (fig. 4)
Pull back the inside corner of each square
Use your fingers to flip it out and over, smoothing and shaping as necessary
This is your petal!
Repeat on each square, forming 4 total petals
On the back of your flower there are 4 triangles
Open these triangles back out
(your flower block is now "on point", when you rotate it the petals with point up & down and left & right, instead of towards the corners. see next photo)
Press those creases out so that they lay flat - avoid pressing your petals!
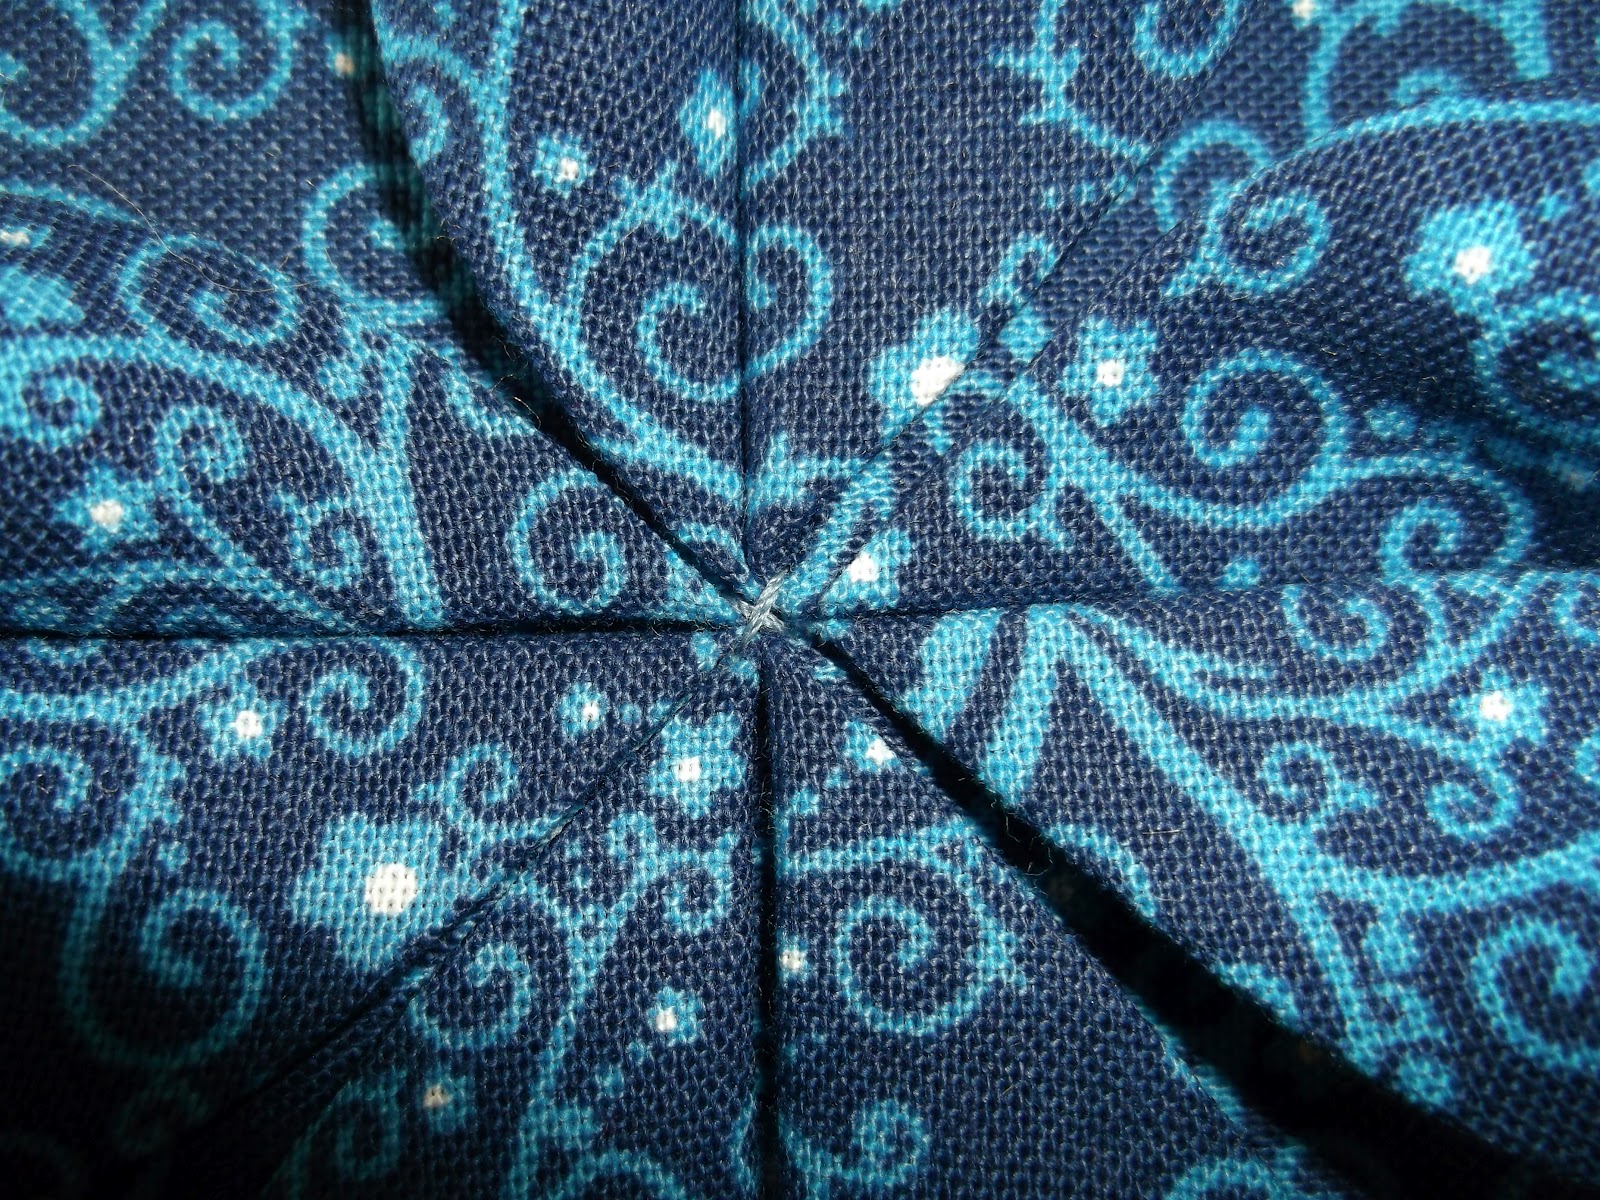
Take a few tiny stitches in the center, sewing down the points of your folds so your flower doesn't come un-done
This is what the back of your flower should look like
(in case you were wondering)
You can add a button, bead or a cluster of french knots to the center of your flower
Fold the petals back down and add a little fray check to the raw edges to keep your flower looking fresh,
Keep the petals folded down when you sew this flower into a seam or block, open them back up when your project is finished
You can make these flowers any size, tiny ones are especially sweet!
Wouldn't these be perfect set in a corner or as a block on a quilt?
Don't be afraid to use them in clothing either -these babies are hardy enough to stand up to the use!
I made this outfit for my daughter, and she wore it for at least 4 years before we "retired" it, and the flowers still look great!
I used fray check on the edges, and washed this skirt on a delicate setting to extend the life. After washing I press the flowers flat before folding the petals out - they still look as crisp as the day I made them.
Tell us! How do you like to embellish your projects?
What will you use these flowers in?


.jpg)