Thursday, May 31, 2012

Quilt Shop Review: Sew and Save

Located on State Street in Clearfield, Sew and Save is a sweet surprise inside! 
The quilt store has been in business for 29 years, and it's no surprise to see why it has such a loyal customer following.


They have a great assortment of fabrics, including my favorites by Moda, but they are best know for their huge selection of flannels and Minkys. This entire wall and rows of shelves are dedicated just to flannel!


They also have tons of candy colored crochet threads, and hemstitched blankets and burp cloths just waiting for you to add a pretty little crocheted trim


Everywhere, lovely displays of patterns and kits!


I loved  this Chevron Chenille quilt 


Many of their quilt patterns are their own original designs!


One of my favorite things? The abundance of rick rack of course!
Every shade you can imagine in a variety of widths!
 I wanted to go home with several yards of each.


Ohhh......An unexpected pleasure: Bakers twine by Moda!


If you love flannels then you're in for a treat - sign ups for their next BOM club start in June, and it is another one of their original quilt patterns  - all done in Maywood Studio or Moda Flannels.


In addition to all the wonderful things above, there were a  few things I don't usually see at your standard quilt shop - zippers, wrights bias tapes and trims, tea towels for appliqueing, Coats and Clark threads, and Kwik-Sew patterns.

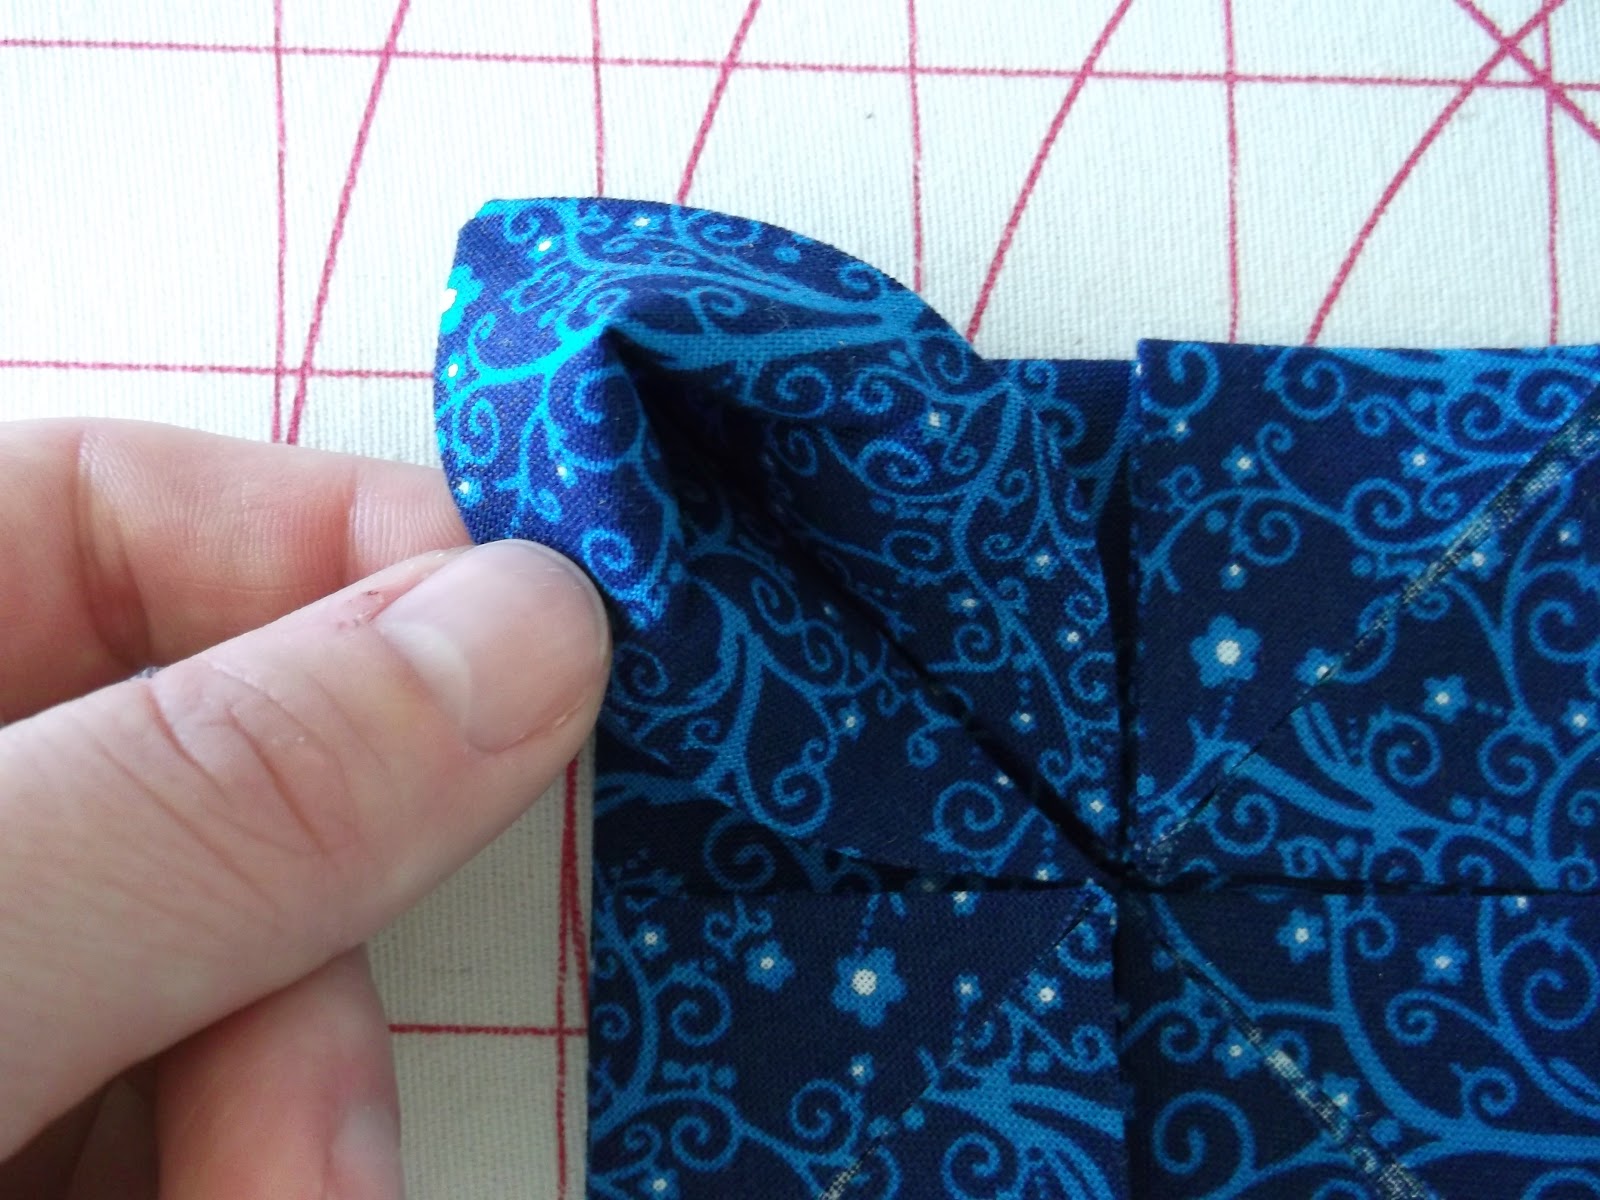
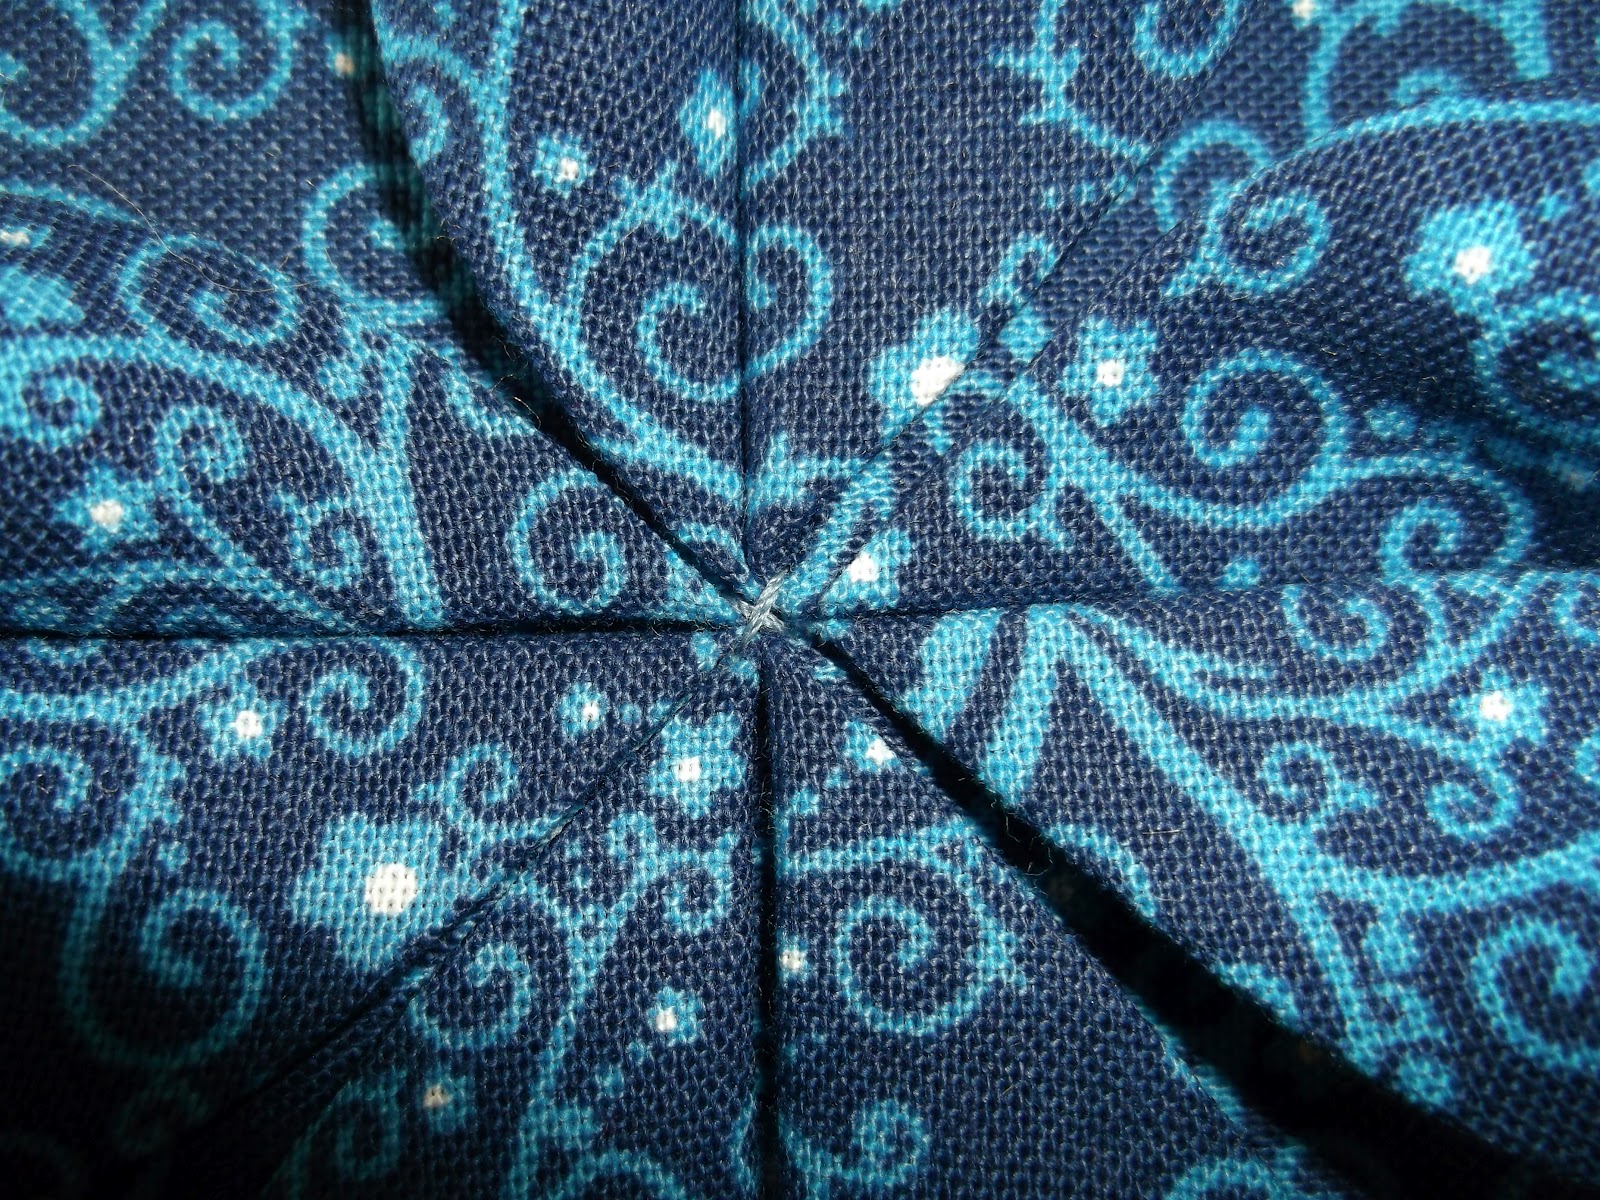
The Sew and Save also boasts some mighty good customer service -  girls who work there are so friendly and helpful, cheerfully cutting FQ's for me from every bolt I brought them. I won't tell you what I bought, but I'll give you a hint of whats to come from it....

So, here's the logistics:
Sew and Save
1475 S. State Street #A
Clearfield UT 84015
(801) 825 - 2177

Open 
Monday - Friday
10 - 7
Saturday
10 - 6
Closed Sunday

 Go check 'em out and tell 'em we sent ya!


 Tell us! What's the first thing you're drawn to in a quilt shop?


Pin It

Wednesday, May 30, 2012

Proper Pressing Techniques

Why you should press, not iron, 
while sewing and quilting.
Are you wondering, what's the difference?


Pressing fabric is setting the iron down then lifting and moving it on a new area. Up and down, up and down. The iron does not slide over the fabric.


When you iron, you slide the iron back and forth, or side to side while keeping your iron on the surface of the  fabric.


So why does it matter?
Here's a quick little demo:
Pictured below are 2 squares, cut to 3 inches


After a proper pressing this square retains it's original shape


But the pressure and motion of ironing can distort your fabric like it has in this square, pictured below.
See how the bottom right corner is pulled off grain just with a quick ironing?


Bias fabric and curves are especially prone to stretching when ironed, so be sure to properly press these areas when necessary.

So to recap:

Traditional Ironing = Bad!

Proper Pressing Technique = Good!


Tell us!
Do you hate to get up and press those seams, 
or is time at the ironing board no biggie?


Pin It

Tuesday, May 29, 2012

Simple & Beautiful Button Storage

There's just something about a jar full of buttons!
Is there a more beautiful, yet simple way to organize them?
I think not.


line them all up on a shelf ...


or mount them below a shelf by their lid...


use vintage canning jars...


or new canning jars...


even baby food jars...
(check out the tutorial to make this here)


what about empty spice jars, in a rack on your desk?


or lined up in a drawer...


There are so many ways to organize and store buttons, but right now I'm daydreaming about dozens of pretty little jars, filled to the brim with lovely buttons all sorted by color.

Tell us! Do you use jars for organizing in your sewing or crafting space?

Pin It

Monday, May 28, 2012

Embellish with Origami Fabric Flowers {Tutorial}


This is one of my most-est favorite things I have ever ever made! I {big puffy heart} this skirt! Tons of ruffles, trims, beading and appliques make it fun, but the origami fabric flowers really make it shine.
 Today I'm going to share how to make these flowers with you - it's a bit tricky, but easier than you think! I've included step-by-step photos to help you along the way. 


You can make these origami flowers in any size with a basic math formula. 

(completed size x 2) + seam allowance = cut square

For a 4 inch flower I cut an 8 1/2 inch square
(4 x 2) + 1/2 =  8 1/2

I like to heavily starch my fabric before I begin, it keeps the fabric from fraying and holds the creases well. (I prefer Mary Ellen's Best Press)

Remeber, precision counts! Be careful with all your folds for a great end result.


Start with your square facing right side up
 Fold your square in half, pressing the crease well
Open square back up
Fold in half other direction, pressing the crease well
Unfold and turn square over, so wrong side is facing up

Your crease lines should resemble "cross hairs"

Bring the point of one corner up to center of "cross hairs", matching raw edges with crease lines
Press crease


Repeat on all corners, carefully lining up all edges

As you go try not to press out your previous creases


Turn your folded square over


Fold the bottom edge up to the center point
Press this crease well, make sure you do not press out your other creases
Repeat, folding the top edge down to the center point

Press this crease well, make sure you do not press out your other creases
Open these folds back out

(new creases are in shown in photo)
Fold in sides, the same as you did the top and bottom and press creases
Open out again
(photo shows all your crease lines)
Fold the left side in again on the crease line
 Fold the top down along the crease,
"pinching" the corner up and out where they meet
 {Corner}
 Working clock-wise, fold each side in along the creases and pinching up the corners forming "dog ears"
 If you push each "dog ear" in the same direction it should look like a pinwheel
 Slip your finger into each corner to open it up and push it down into place


Repeat on each corner/ "dog-ear"

Pressing well when all are flat

It will now look like 4 squares (fig. 4)
Pull back the inside corner of each square
Use your fingers to flip it out and over, smoothing and shaping as necessary

This is your petal!
Repeat on each square, forming 4 total petals
 On the back of your flower there are 4 triangles
Open these triangles back out

(your flower block is now "on point", when you rotate it the petals with point  up & down and  left & right, instead of towards the corners. see next photo)

Press those creases out so that they lay flat - avoid pressing your petals!
Take a few tiny stitches in the center, sewing down the points of your folds so your flower doesn't come un-done
This is what the back of your flower should look like
(in case you were wondering)
You can add a button, bead or a cluster of french knots to the center of your flower
Fold the petals back down and add a little fray check to the raw edges to keep your flower looking fresh,

Keep the petals folded down when you sew this flower into a seam or block, open them back up when your project is finished


You can make these flowers any size, tiny ones are especially sweet!


 Wouldn't these be perfect set in a corner or as a block on a quilt?
Don't be afraid to use them in clothing either -these babies are hardy enough to stand up to the use!
I made this outfit for my daughter, and she wore it for at least 4 years before we "retired" it, and the flowers still look great! 


I used fray check on the edges, and washed this skirt on a delicate setting to extend the life. After washing I press the flowers flat before folding the petals out - they still look as crisp as the day I made them.


Tell us! How do you like to embellish your projects?
What will you use these flowers in?


Pin It
Related Posts Plugin for WordPress, Blogger...